INSTALLATION & FITMENT
How to install BMW side skirt blades
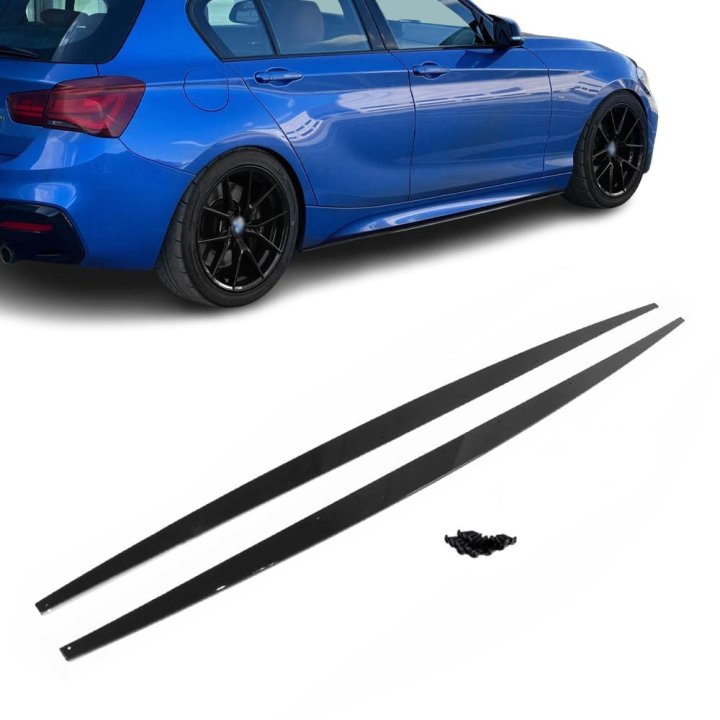
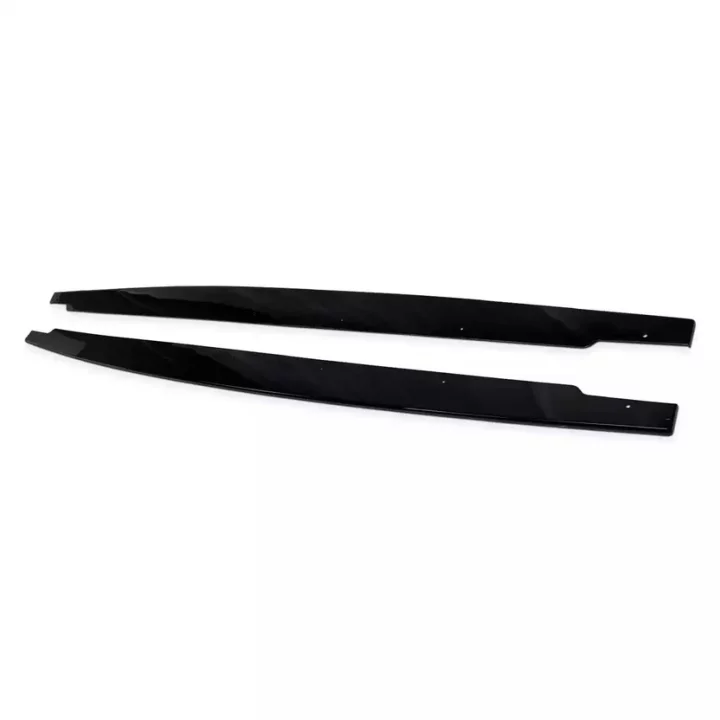
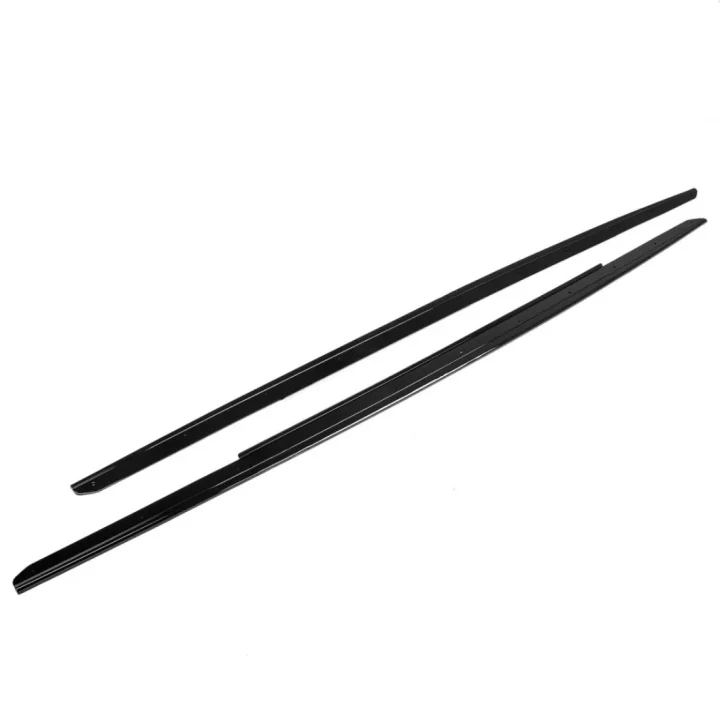
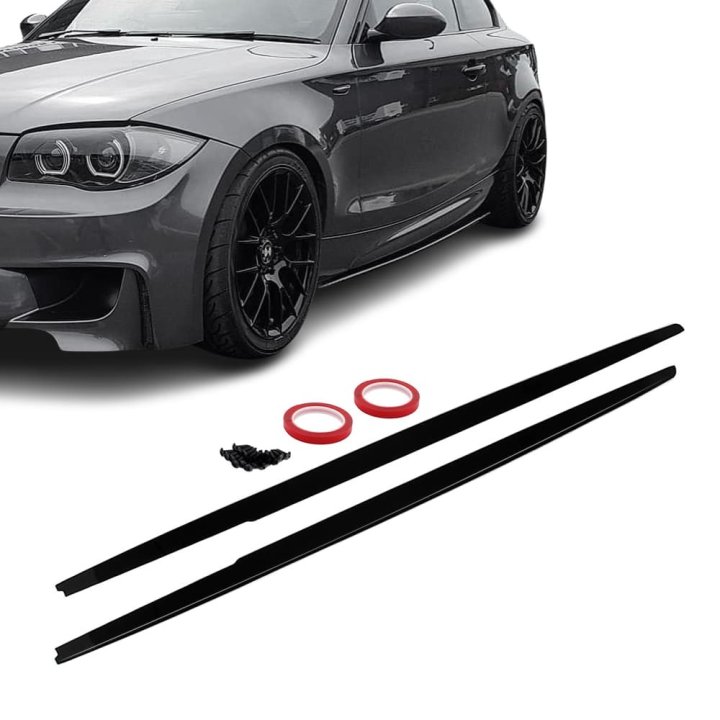
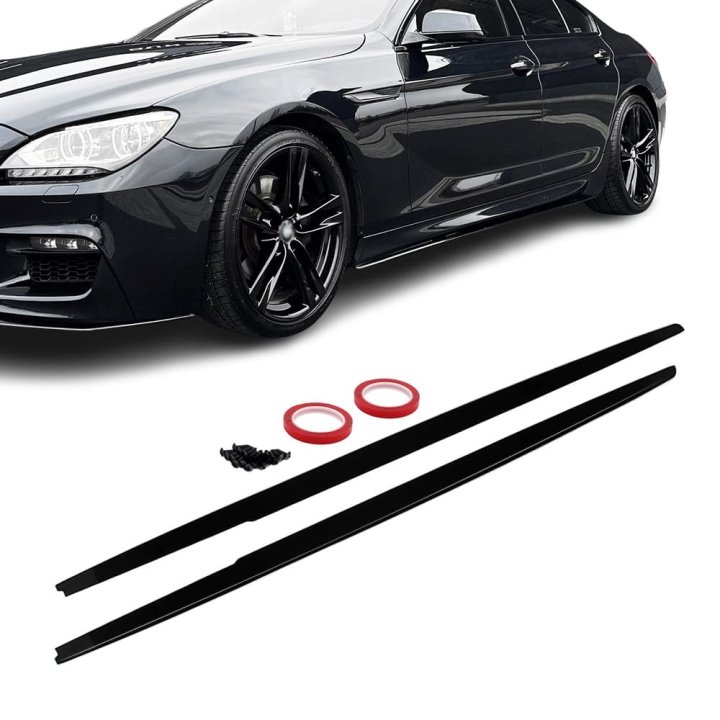
Prepare, align, bond and mechanically fasten a pair of BMW side skirt extension blades.
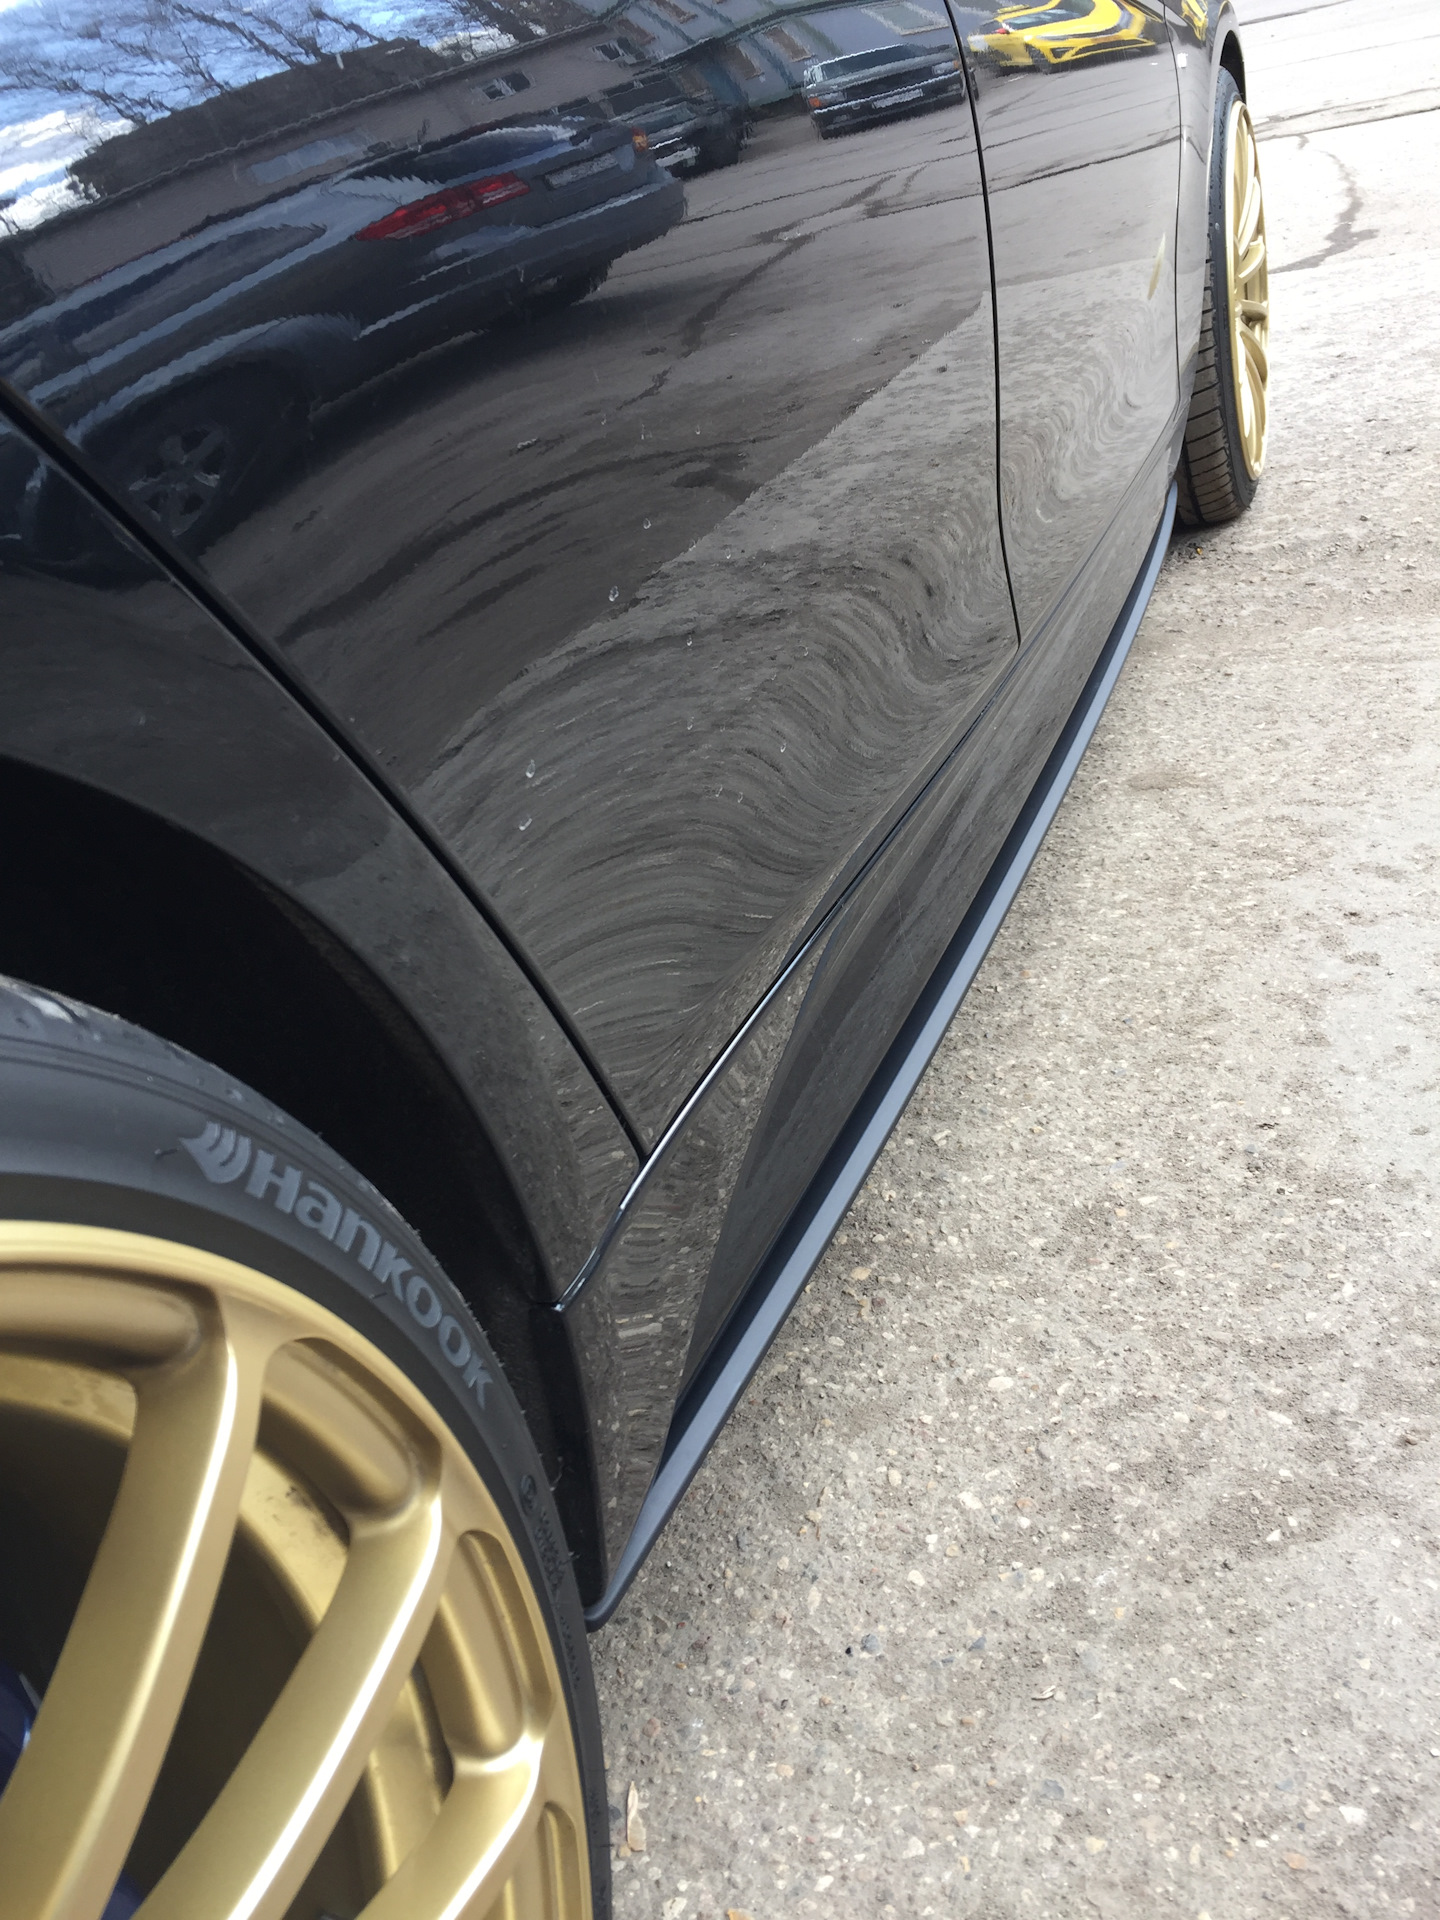
Required tools
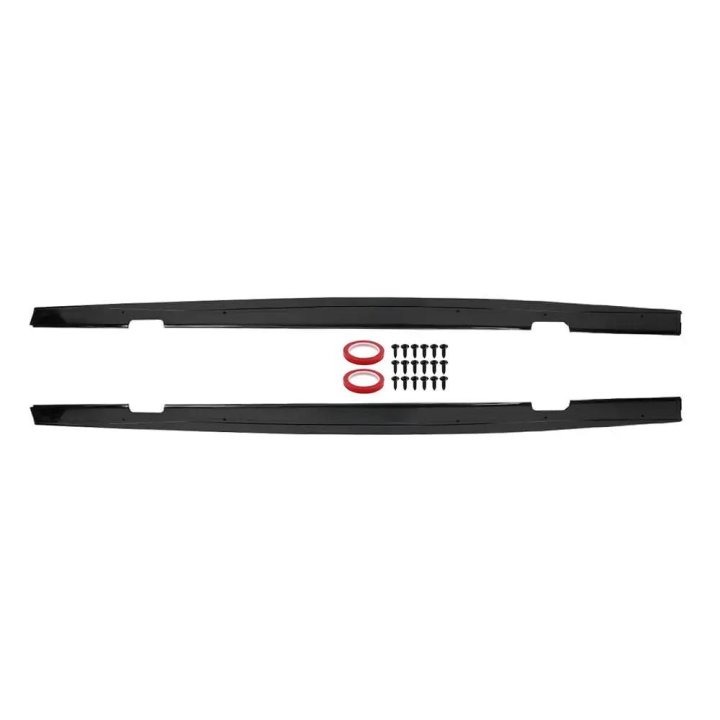
- Side skirt blades (left and right)
- Automotive double-sided tape
- 12–16 mm wide-head screws, rivets or plastic push pins
- Isopropyl alcohol or automotive degreaser
- Cleaner and wipes
- Screwdriver or cordless drill
- Masking tape
- Jack and suitable axle stands or vehicle lift
Step-by-step instructions
1. Prepare and test-fit
- Park on a level surface, raise the car and support it securely on suitable stands or a lift.
- Thoroughly wash the lower part of the factory side skirts.
- Hold each blade against the factory side skirt without adhesive and check its alignment along the full length.
- Mark the front and rear positions with masking tape or a removable marker so the blade can be returned to the same position.
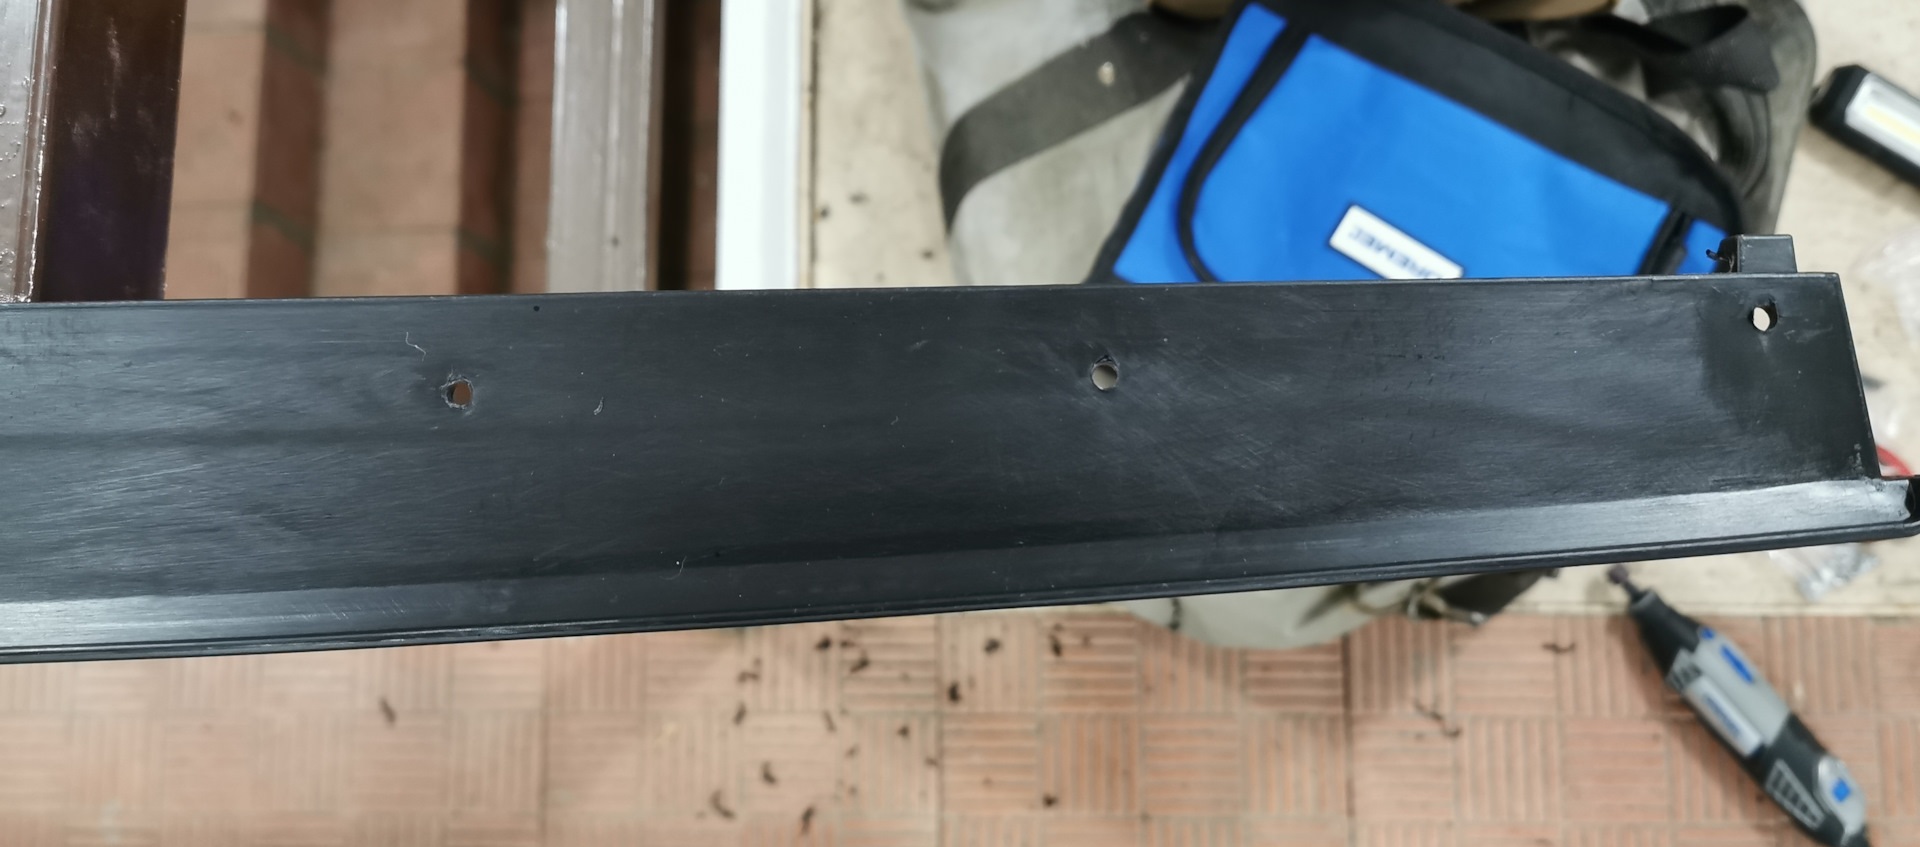
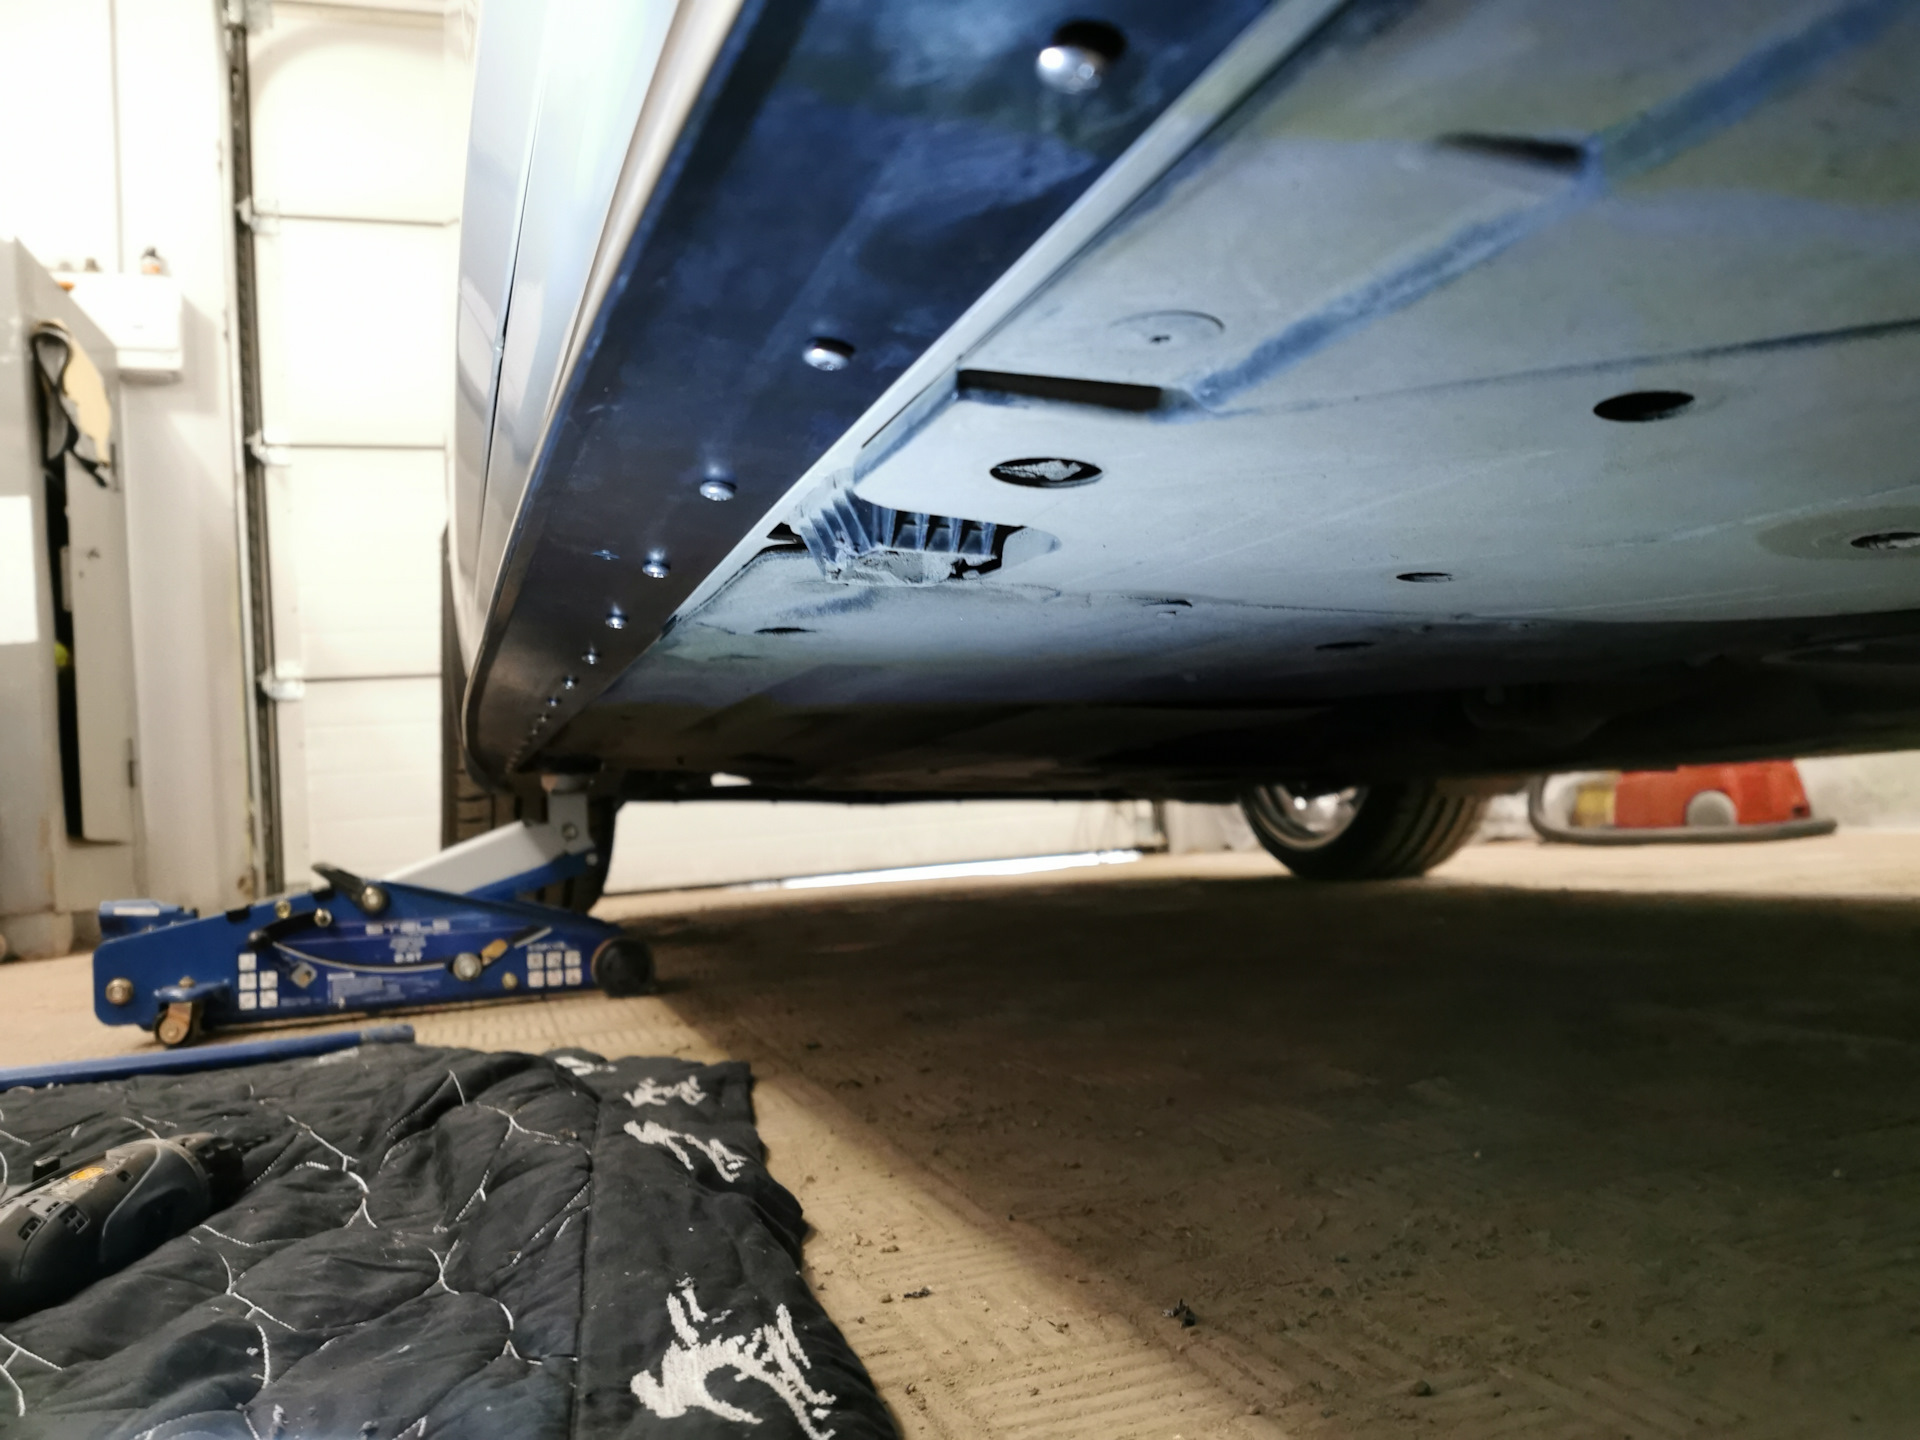
- If required, drill mounting holes in the blades at 15–20 cm intervals. For push pins or rivets, transfer and drill the corresponding positions in the factory plastic side skirt only after checking what lies behind it.
2. Degrease and prepare the tape
Wipe the inner contact face of the blade and the lower surface of the original plastic side skirt with degreaser. Apply automotive-grade double-sided tape along the entire upper edge of the blade. Peel back 3–5 cm of the backing at both ends and fold the tabs outward so they remain accessible after positioning.
3. Position and bond the blade
Return the blade to the marked position. Pull the exposed backing tabs and remove the protective film gradually along its full length while pressing the upper edge firmly against the factory side skirt.
4. Fasten it from below
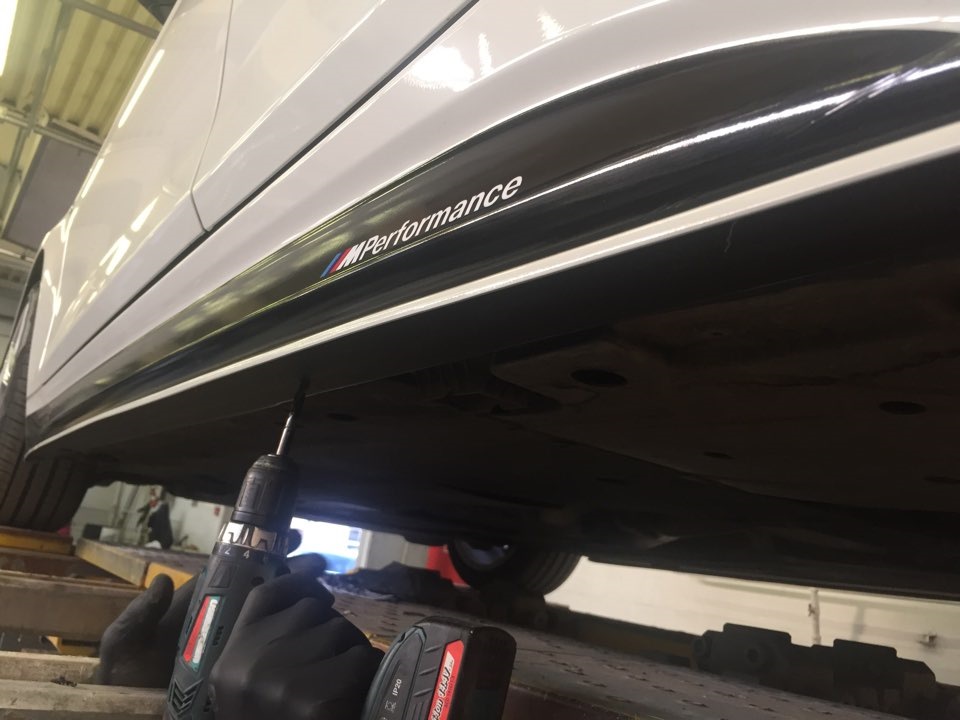
Secure the blade through the factory plastic side skirt using suitable wide-head 12–16 mm self-tapping screws, rivets or plastic push pins. Check the available depth before using any fastener. Pay particular attention to the front and rear ends, where aerodynamic load is highest.
5. Repeat on the other side
Repeat the same preparation, alignment, bonding and fastening steps on the opposite side. Finish by comparing both blades from the front and rear of the car and checking that they sit at the same height and distance from the body.
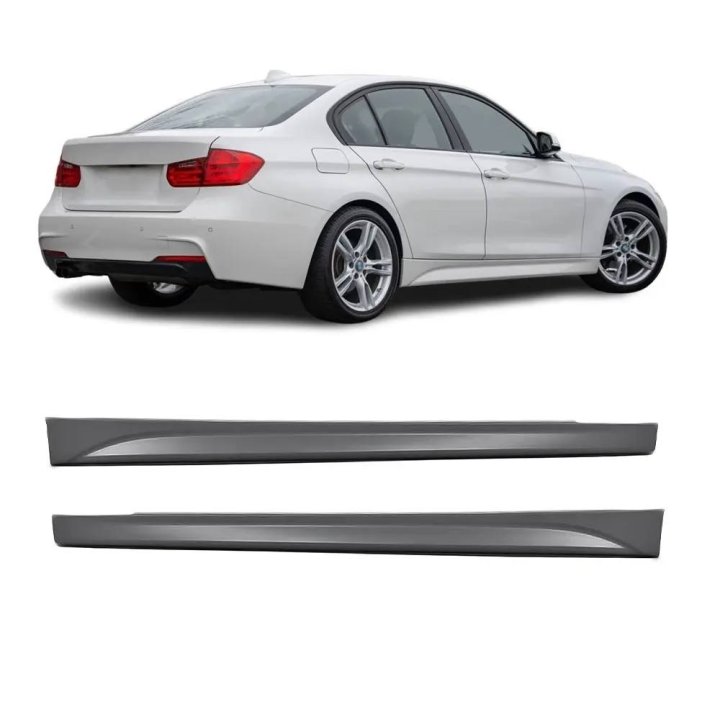
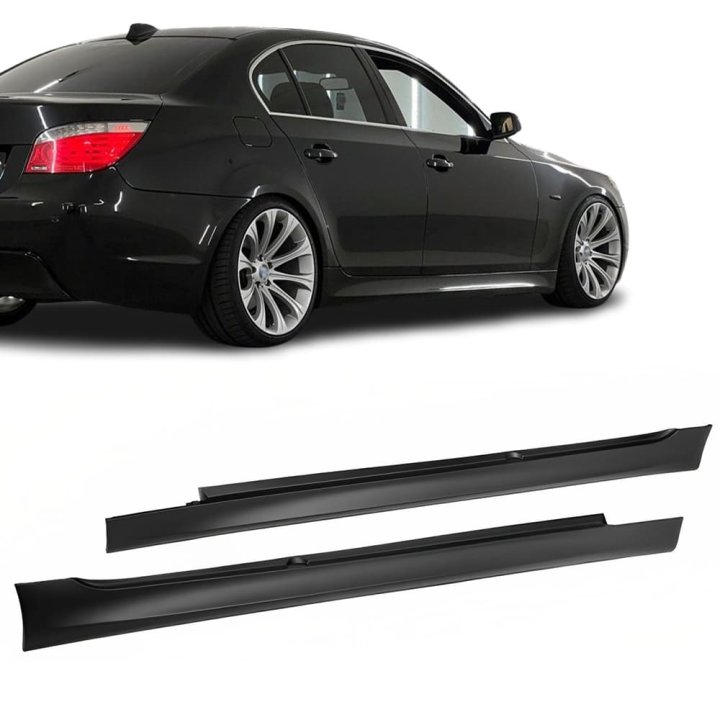
All photographs are illustrative. Fastener type, drilling positions and available clearance vary by vehicle and blade.